
On Wednesday, PRA staff members took advantage of the beautiful fall day to try their hand at pumpkin carving. They carved 12 pumpkins, and they now sit outside our building to greet the residents of Delmar! We even saw a few people stop their cars to take some photos of our pumpkin display; how cool is that?
From carving 12 pumpkins, we’ve gained a bit of carving expertise. Here are our three tips to a great carved pumpkin:
Pre-Carving Prep
A great carved pumpkin starts with a great pumpkin. Select one that is fresh and firm—no mushy spots! When sawing off the top of your pumpkin, cut at an angle so that the top doesn’t fall into the pumpkin! Clean out as much of the pumpkin “guts” as you can; a cleaned out pumpkin will be much easier to carve than one that has a lot of residual pulp.
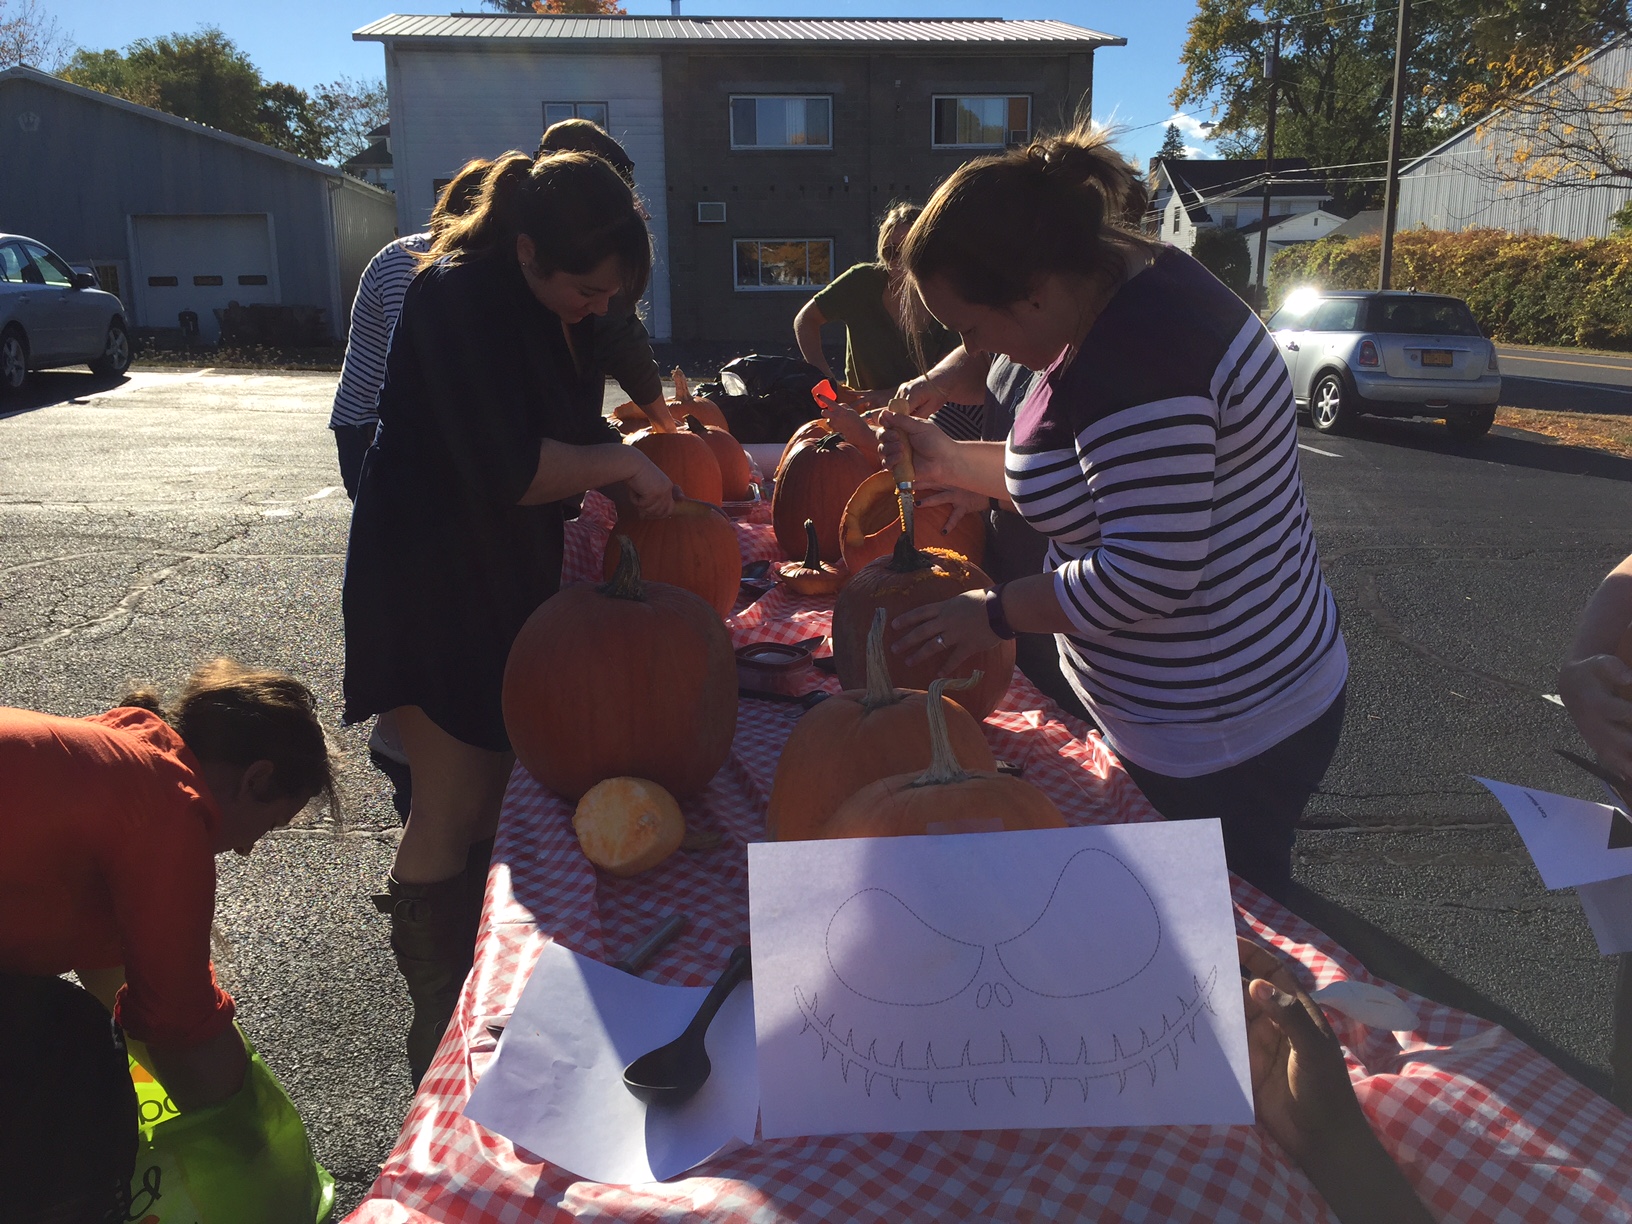
PRA Pumpkin Carvers
Carving the Best Pumpkin You Can
To carve a pumpkin that looks great once it is lit up at night, be mindful of where you are placing your design—if the design is too high, the light will not be able to reach all of the design. When transferring your design, use a marker to fill in the parts that will be cut away; this will help you remember which part of the pumpkin you are actually cutting! You can remove any excess marker using an alcohol prep pad!
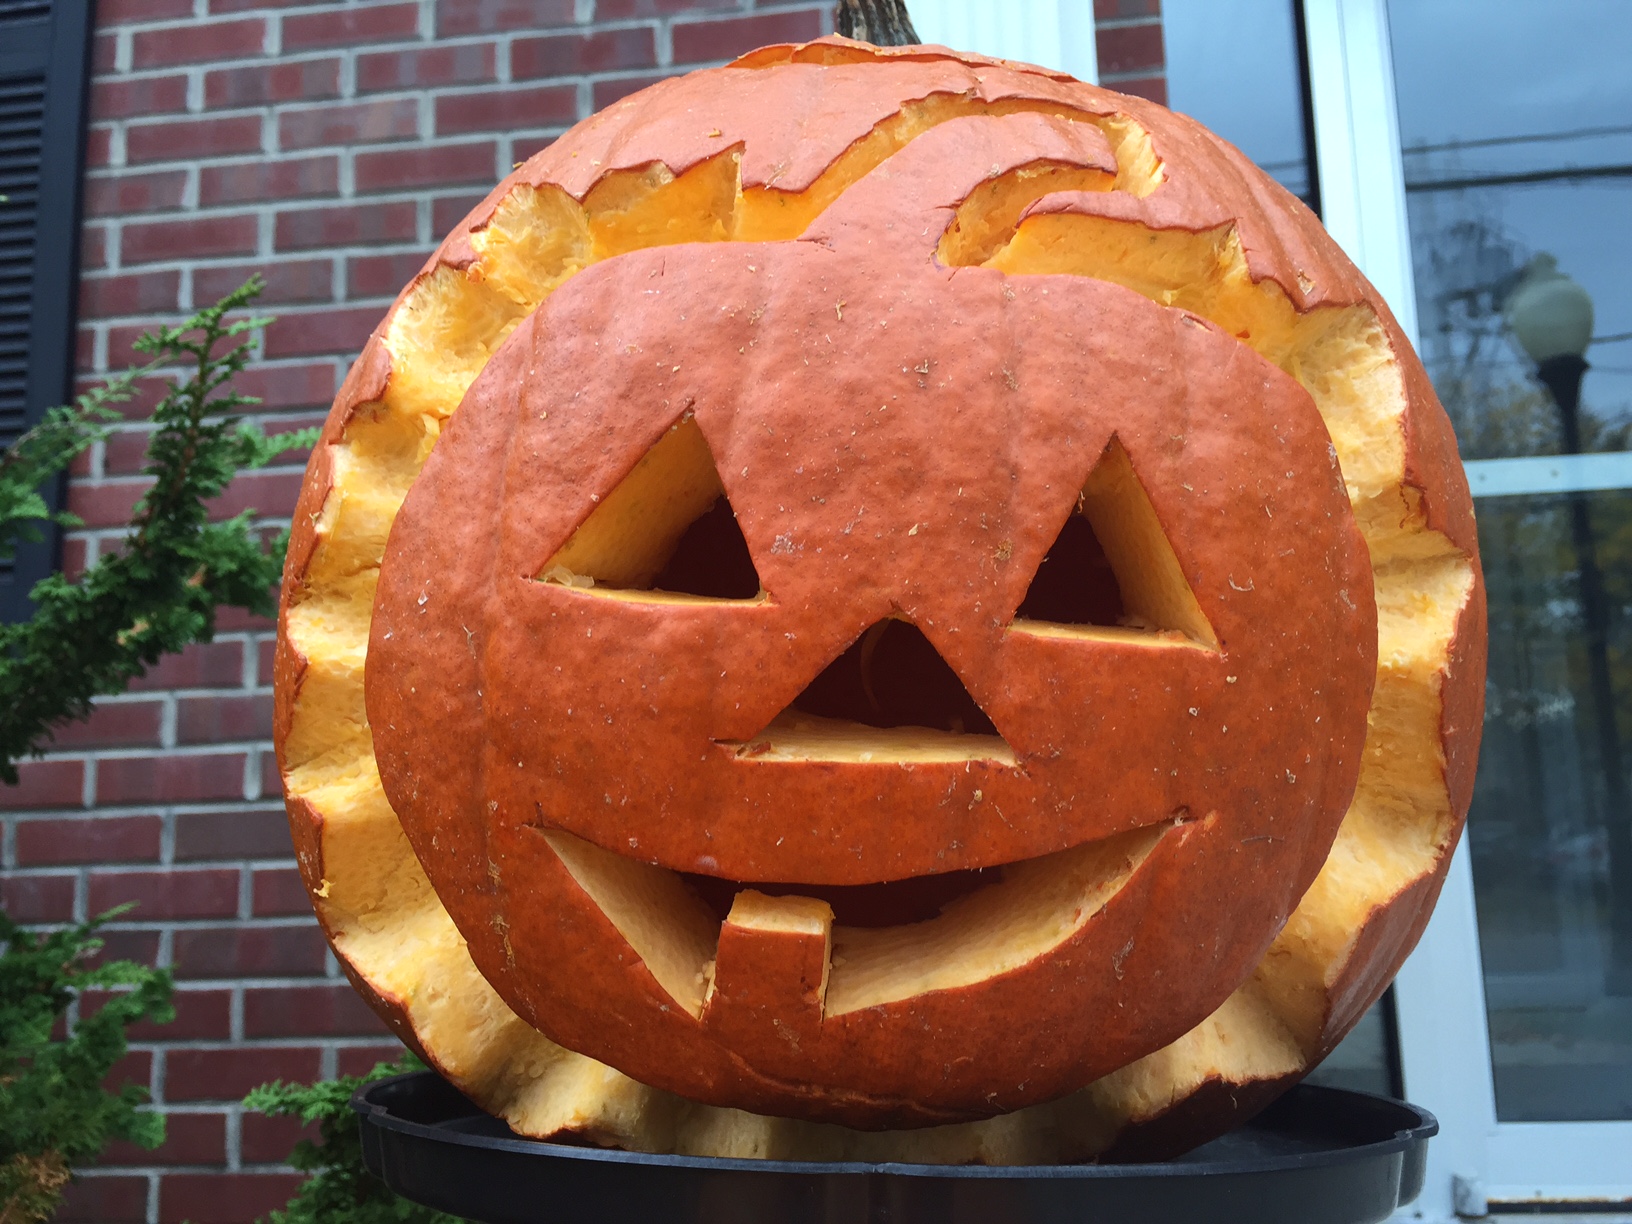
Pumpkin Carved Pumpkin
Keeping Your Pumpkins Fresh
Want to know a natural way to keep your carved pumpkins fresh? Soak them in a bath with a few drops of peppermint or tea tree essential oils (roughly 10 drops of oil per gallon of water)! These oils act as antifungals, and they will keep your carved pumpkin looking fresh longer!
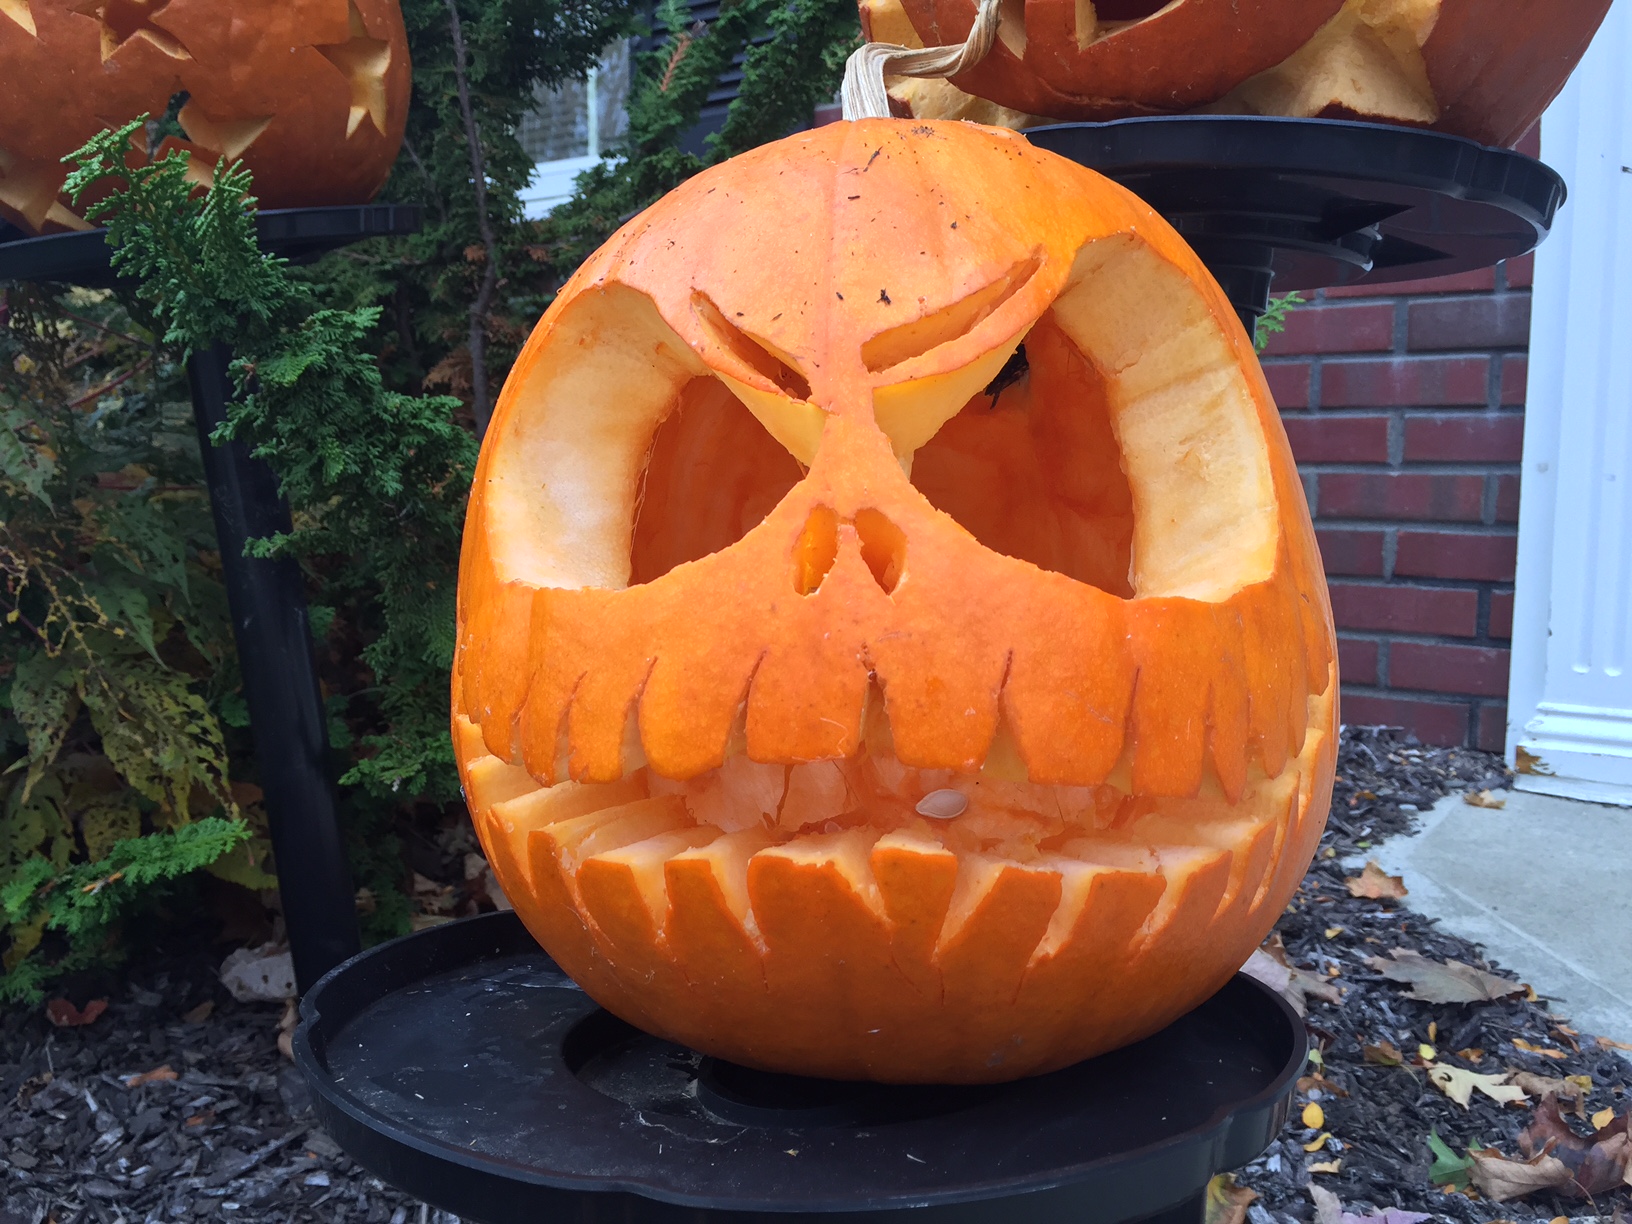
Jack Skellington Carved Pumpkin
What are your best pumpkin carving tips? Submit them in the comments!