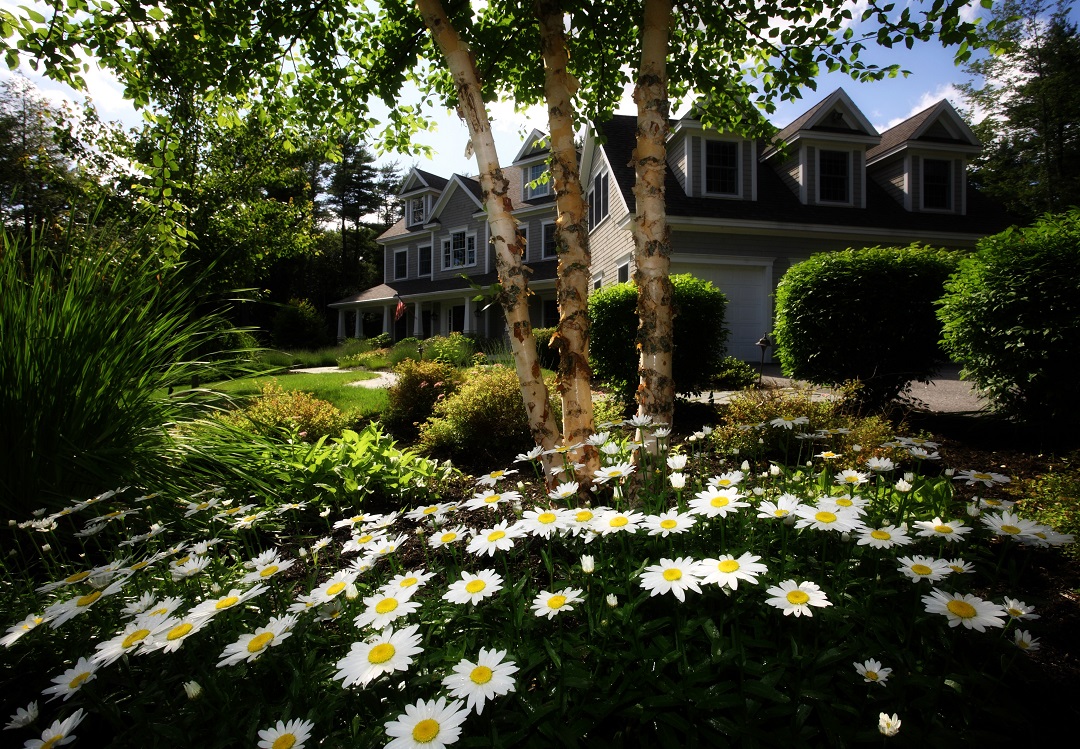
This blog article, the second in a three part series, is all about the recent efforts my wife and I have taken to restore a 135 year old home in the small Saratoga County Village of Waterford, NY.
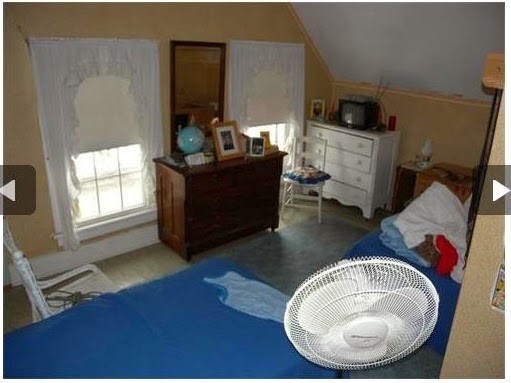
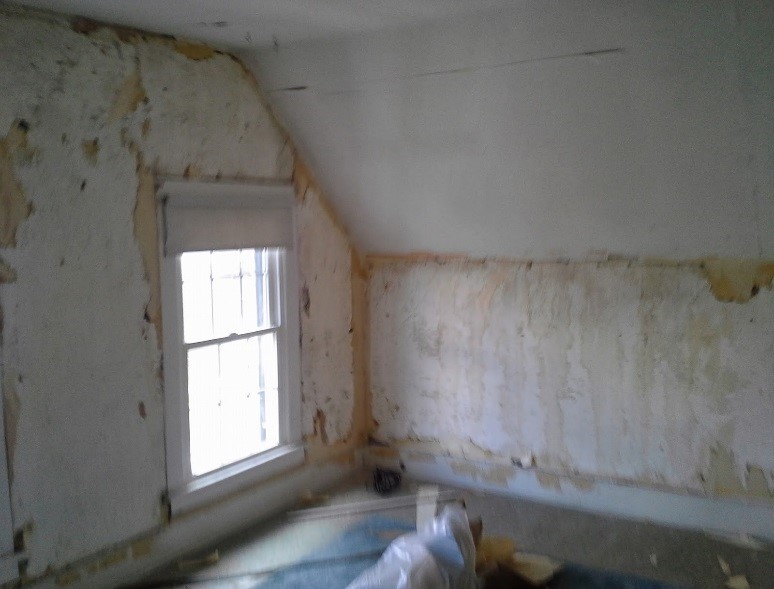
When we bought our post-civil-war colonial house the master bedroom looked like something out of a John Steinbeck novel. The floor had 2 layers of (very old) linoleum and an area rug. The walls had layers upon layers of wallpaper over crumbling plaster. Wanting something a little more F. Scott Fitzgerald, we certainly had our work cut out for us.
After helping my wife peel off the wallpaper, my wife decided to take a swing at plastering and that is what she did every day after work for about a month. In the middle of two heat waves – she worked on smoothing out every lump, bump, crack, and crumble. We knew to leave the linoleum down to protect the fir plank floors that we had yet to refinish.
After hours of sanding and replastering, we decided on using BIN shellac primer because we knew we were dealing with a lot of tannin and other old stains that we did not want to bleed through the paint. Everyone that paints has a primer they like but with our growing knowledge of older houses and painting, we have learned the hard way that BIN shellac primer was the only thing that could do the job. More than once we have painted a surface only to find brownish stains appear in only hours. Where a lot of primers prime the surface, Bin actually seals it and assists in giving an eggshell or semi-gloss sheen in fewer coats.
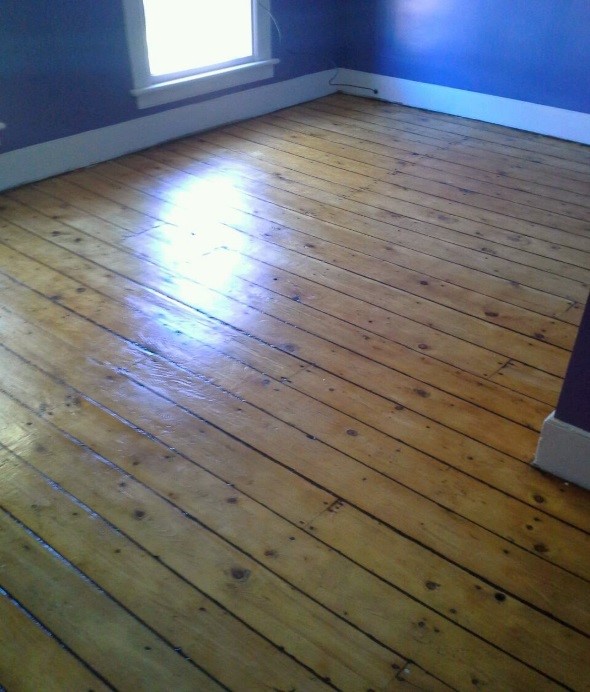
While my wife was working on the walls I was doing the backbreaking task of hand sanding the gorgeous fir planks that lay beneath the 76 year old linoleum (we found a 1937 newspaper beneath the bottom layer!).
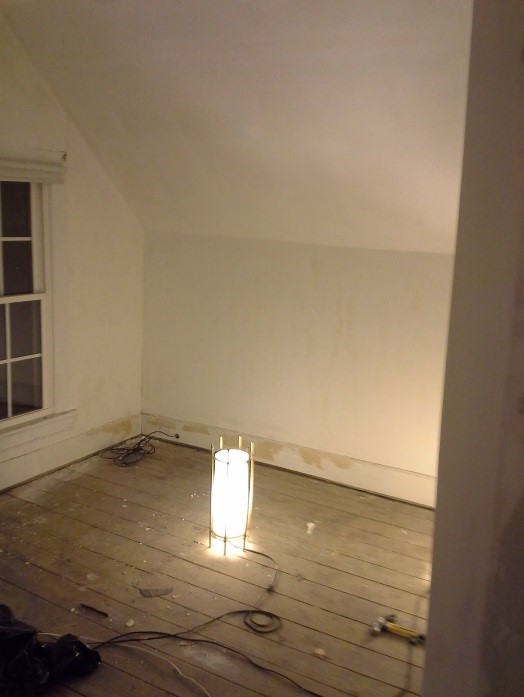 We could not sand the traditional way because the planks had so much texture (not to mention space in between each plank), and we didn’t want the old rustic floor looking like a gymnasium, so hand sanding was our only option.
Before we applied the polyurethane on the floor we had to caulk in between each and every crack. This was another challenge because we knew the boards would have a significant amount of flux and change in size depending on the season and humidity. Luckily we found a product that 3M makes that is used as a marine caulk for the same purpose and we were able to order it through an online marine supply store.
 The final touch when we moved in was to position our furniture in a comprehensive way which posed an issue because of the way the rooms were cut up with windows and doors.
For example, our double bed would only fit under the slanted ceiling. To minimize and add some softness to the hard angle we hung sheer fabric and let it flow over the headboard, a suggestion in a Feng Shui design book Lisa picked up years ago.
Stay tuned for part three where we will talk about our work on the kitchen and dining room!


